
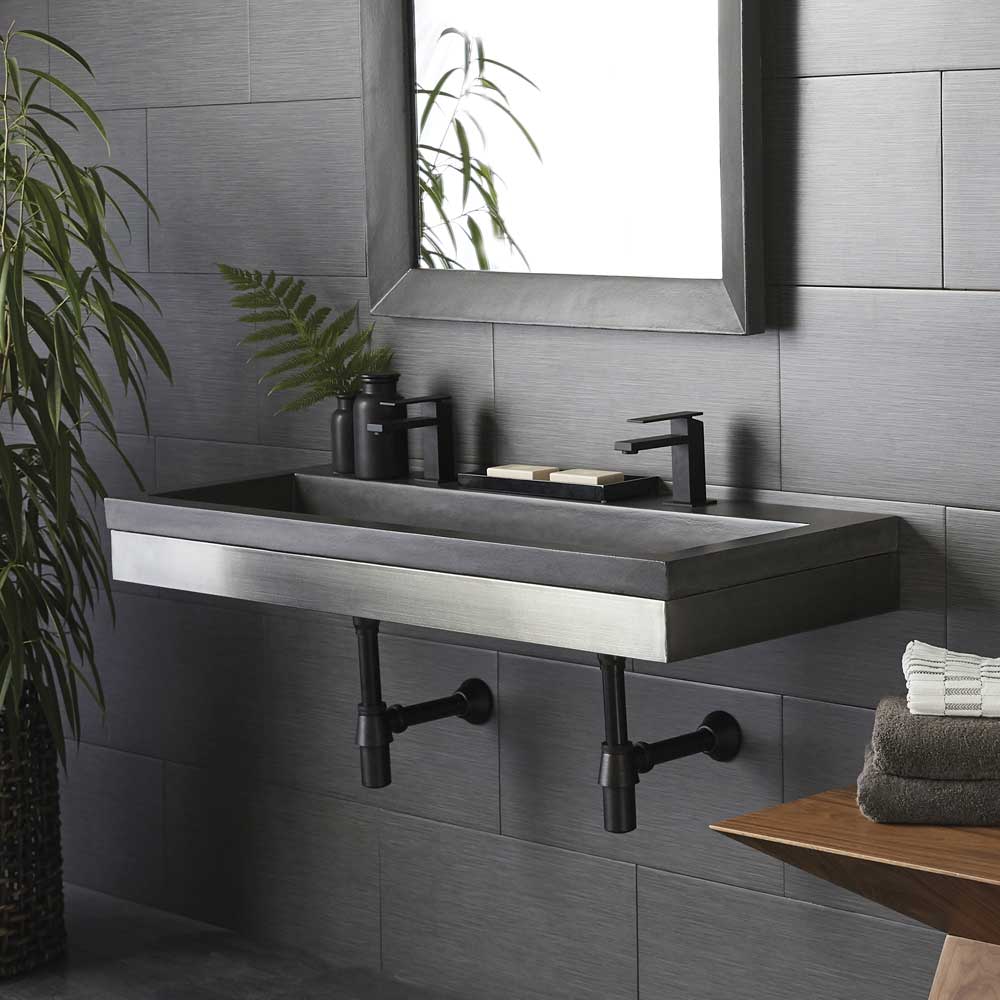
Planning a commercial restroom requires more than selecting individual fixtures. The position of sinks, toilets, doors, partitions, dispensers, and circulation paths all affect how comfortably and safely people can use the space.
When designing around a Commercial Handicap Sink, accessibility should be considered from the beginning rather than added after the rest of the layout is complete. A well-coordinated plan can provide appropriate clearances while making the restroom practical for everyday users and maintenance staff.
Start With the Overall Restroom Layout
Before choosing the sink position, identify the main circulation routes through the restroom. Consider where users enter, how they reach the sink, and how they move between different fixtures.
Doors, partitions, toilets, and other elements should be positioned so they do not unnecessarily restrict the accessible route or required clear floor space.
A scaled floor plan can make potential conflicts easier to identify before construction begins.
Determine the Sink Location
The sink should be positioned where users can approach it without encountering unnecessary obstacles. For an accessible installation, the location needs to work with the required approach and maneuvering space.
Avoid placing the basin too close to walls, partitions, door swings, or other fixtures when doing so would restrict the necessary clearance.
The final position should be checked against the applicable accessibility requirements for the project.
Allow Appropriate Clear Floor Space
Clear floor space is one of the most important considerations when planning an accessible sink area. The space should allow a person using a wheelchair or mobility device to approach and use the fixture.
For applicable ADA installations, an accessible lavatory generally requires clear floor space for a forward approach, commonly measured at 30 by 48 inches.
The exact layout should be verified against the current standards applicable to the building and jurisdiction.
Plan Sink Height Carefully
The finished height of the sink affects usability and accessibility. For installations subject to ADA requirements, the front of an accessible lavatory or counter is generally limited to 34 inches above the finished floor.
Height should be considered together with the basin depth, countertop thickness, faucet configuration, and the user’s approach.
Measurements should be taken from the finished floor so that flooring materials and other construction details are properly accounted for.
Provide Knee and Toe Clearance
A wall-mounted sink can make it easier to create open space beneath the basin, but the entire installation still needs to be evaluated.
Plumbing pipes, mounting brackets, cabinets, and other components should not unnecessarily obstruct the required knee and toe clearance.
Where exposed plumbing is located beneath the sink, it should also be appropriately protected to reduce the risk of contact with hot or sharp components.
Coordinate the Faucet Position
Faucet placement should be incorporated into the layout rather than treated as an afterthought. Controls should be reachable and operable without requiring users to stretch excessively or maneuver around the basin.
Lever-operated and automatic faucets are often considered for accessible commercial restrooms because they can be easier to operate than controls requiring tight grasping or twisting.
The faucet should also be compatible with the sink’s dimensions and the intended installation method.
Consider Nearby Bathroom Fixtures
A sink rarely functions in isolation. Its position should be reviewed alongside every nearby fixture and accessory.
Important elements to coordinate include:
- Toilets and grab bars
- Bathroom partitions
- Mirrors
- Soap dispensers
- Paper towel dispensers
- Hand dryers
- Waste receptacles
- Emergency equipment
- Door swings
Keeping these elements within suitable reach ranges while preserving required clearances can help create a more functional restroom.
Think About Door Placement
Door swings can have a significant effect on available floor space. A door that opens into the sink approach area may interfere with accessibility or make circulation more difficult.
During the planning stage, evaluate both the door’s closed and open positions. Where possible, organize the entry so users can reach the accessible sink without navigating around an obstructing door.
The applicable building and accessibility codes should determine the final door configuration.
Plan for Multiple Users
Commercial restrooms often serve people with different mobility needs. A layout should therefore avoid treating accessibility as a feature limited to one isolated fixture.
The accessible sink should remain connected to an appropriate accessible route. At the same time, other users should be able to reach sinks, toilets, and exits without creating unnecessary congestion.
This is especially important in busy environments such as schools, restaurants, shopping facilities, and transportation buildings.
Consider Different Commercial Environments
Restaurants
Restaurant restrooms need to accommodate frequent customer turnover while remaining easy for staff to clean. Positioning the accessible sink away from major congestion points can help maintain smoother circulation.
Schools
School restroom layouts should account for frequent use, supervision needs, cleaning access, and users with different mobility requirements.
Durable fixtures and straightforward circulation can make routine maintenance and daily use more manageable.
Healthcare Facilities
Healthcare restrooms may have additional operational requirements related to hygiene, equipment, patient mobility, and staff access.
Sink placement should be coordinated with the facility’s specific design standards and accessibility requirements rather than relying solely on a general restroom layout.
Offices and Public Buildings
Office and public restrooms benefit from layouts that are intuitive and easy to navigate. Clear routes and appropriately positioned fixtures can help users identify and access the sink without unnecessary movement.
Make Maintenance Part of the Design
Maintenance access should be considered before construction is completed. Staff may need to reach supply lines, drains, mounting hardware, and other components beneath or behind the sink.
A layout that provides appropriate service access can make inspections and repairs more efficient.
At the same time, maintenance equipment and stored supplies should not be allowed to permanently occupy required accessible floor space.
Review the Complete Plan Before Installation
Before fixtures are installed, review the restroom drawing as a complete system. Check sink dimensions, mounting height, clear floor space, knee clearance, door swings, faucet reach, accessory locations, and circulation paths.
It is also useful to verify actual product dimensions rather than relying only on generic fixture sizes. Small differences in basin depth, support brackets, or plumbing locations can affect the finished layout.
Final Thoughts
Planning a restroom around a commercial accessible sink requires coordination between the sink, surrounding fixtures, circulation routes, and building structure. Addressing these factors early can reduce conflicts during installation and help create a more practical space.
A Commercial Handicap Sink should be viewed as one component of the complete restroom design. Proper clearances, suitable mounting, accessible faucet controls, maintenance access, and compliance with applicable standards all contribute to a functional commercial restroom.